

Outdoor Projection Mapping: Planning Power, Data and Control Routes
Outdoor Projection Mapping: Planning Power, Data and Control Routes
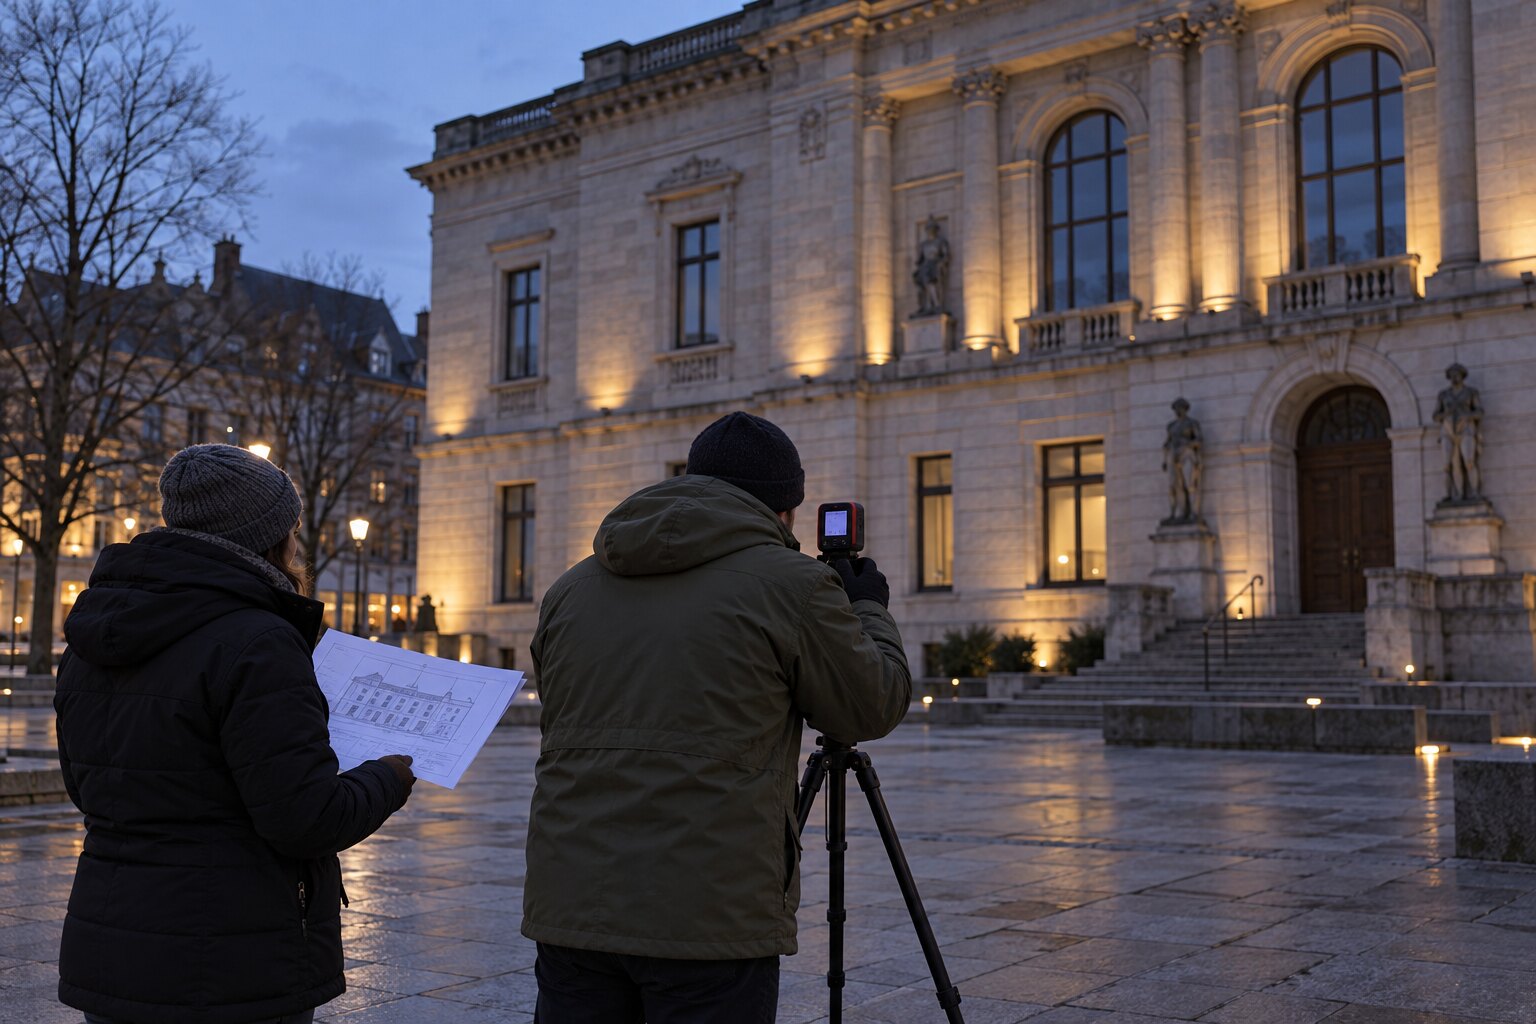
Outdoor projection projects are often scoped around the projector, lens and image surface. The installation also needs a dependable path for power, network, signal and control. If those routes are left until the end, a promising site can require extra conduit, lift time, weather protection or electrical work that was never included in the budget.
This guide helps municipalities, venues and event producers plan the infrastructure around an outdoor projection system before equipment is ordered.
Separate the loads before choosing a cable route
Start with a simple load schedule. List each projector, enclosure fan, heater, controller, media server, network device and accessory that needs power. Record voltage, approximate running load, startup behaviour and whether the device needs a dedicated circuit or protected shutdown.
Projector power is only part of the calculation. An outdoor enclosure may add fans, heaters, controls and monitoring equipment. A winter installation can have a very different peak load from a summer event. Ask the electrical designer to review the complete operating case, including the conditions when heaters and cooling operate together.
Choose projector positions with infrastructure in mind
A technically attractive throw position may be difficult to power and service. During the site survey, mark the distance to the nearest suitable electrical source, the likely cable route, the height of the run, and the path technicians would use to reach the equipment. Note whether the route crosses a public walkway, vehicle lane, heritage surface or area that receives snow clearing.
For a permanent installation, compare a discreet wall or roof route with a ground level route that is easier to access. For a temporary event, identify where cable ramps, overhead rigging or a protected technical compound can be used. The shortest cable is not always the safest or least expensive route.
Plan network and control separately from power
Decide where the playback computer, control interface and network equipment will live. A projector may need video, network control, monitoring or a combination of those connections. Draw the system as a signal map before specifying cable lengths.
- Identify the location of the media server or playback computer.
- Show each projector and control device as a separate endpoint.
- Define whether the system uses direct video cabling, network transport, local playback or a hybrid.
- Allow for service loops and replacement equipment without blocking doors or airflow.
- Keep connectors and junctions accessible for testing and fault finding.
Long runs, outdoor transitions and mixed signal types should be reviewed by the system designer. A network cable that works on a bench may need different protection, termination or testing when it passes through a damp exterior route.
Protect cable entries and transitions
Every cable entry is an opening in the environmental strategy. The enclosure, conduit, gland, connector and cable jacket have to work together in the actual orientation. A downward-facing entry may shed water well; an upward-facing entry can create a trap even when the connector itself is weather resistant.
Ask for a drawing that shows how cables enter the enclosure, where drip loops are formed, how strain is relieved and how a technician can disconnect the projector without disturbing alignment. Keep signal and power routing organized so service work does not require opening unrelated sections of the enclosure.
Account for heat, heaters and shutdown conditions
Power planning and thermal planning are linked. A projector produces heat while operating; an enclosure may also use fans, heaters or controls that continue running during a startup or shutdown sequence. The design should define what happens when the projector is off but the enclosure remains exposed to cold, moisture or a rapidly changing temperature.
Ask the supplier to state the expected electrical load for normal operation, cold startup and fault conditions. Confirm how a failed fan, tripped circuit or loss of communications is reported and how the equipment returns to service. The exact control sequence depends on the projector and enclosure, but the operating states should be documented before commissioning.
Design for temporary installations too
Temporary systems still need a proper infrastructure plan. Include cable ramps, weather protected distribution, ballast and strain relief in the site drawing. Keep connectors off the ground and away from snow melt or standing water. Label both ends of every run before load-in, and photograph the finished routes before the public arrives.
For festivals, define who can reset power, who is allowed to access the equipment and how the technical director is notified when a circuit or network path fails. A clear responsibility matrix prevents a small fault from becoming a long search through an unfamiliar site.
What to include in a supplier request
- Projector and lens models, quantity and operating orientation
- Approximate throw distances and mounting heights
- Available voltage, panel location and circuit information
- Network, signal and control requirements
- Indoor and outdoor cable route drawings
- Required service loops, disconnects and access clearances
- Temporary protection such as ramps, covers, ballast or rigging
- Testing, labeling, commissioning and handover documentation
Ask bidders to identify assumptions and exclusions. Electrical permits, structural attachments, network services, traffic control and lift access may belong to different parties depending on the site. A written division of responsibility makes the quote easier to compare.
Plan the route before you buy the equipment
Outdoor projection works best when the image system and the infrastructure are designed together. Power, data, weather protection, mounting and service access all affect where a projector can live and how reliably it can operate.
360 Illumination can help review the projector, enclosure, mounting location and operating environment as one system. Visit the Projection Enclosures page, then send us your projector models, site photos and expected operating conditions for a practical compatibility discussion.