
Projection Mapping for Inflatable and Temporary Scenic Elements – Technical Deep Dive
Projection Mapping for Inflatable and Temporary Scenic Elements – Technical Deep Dive
")
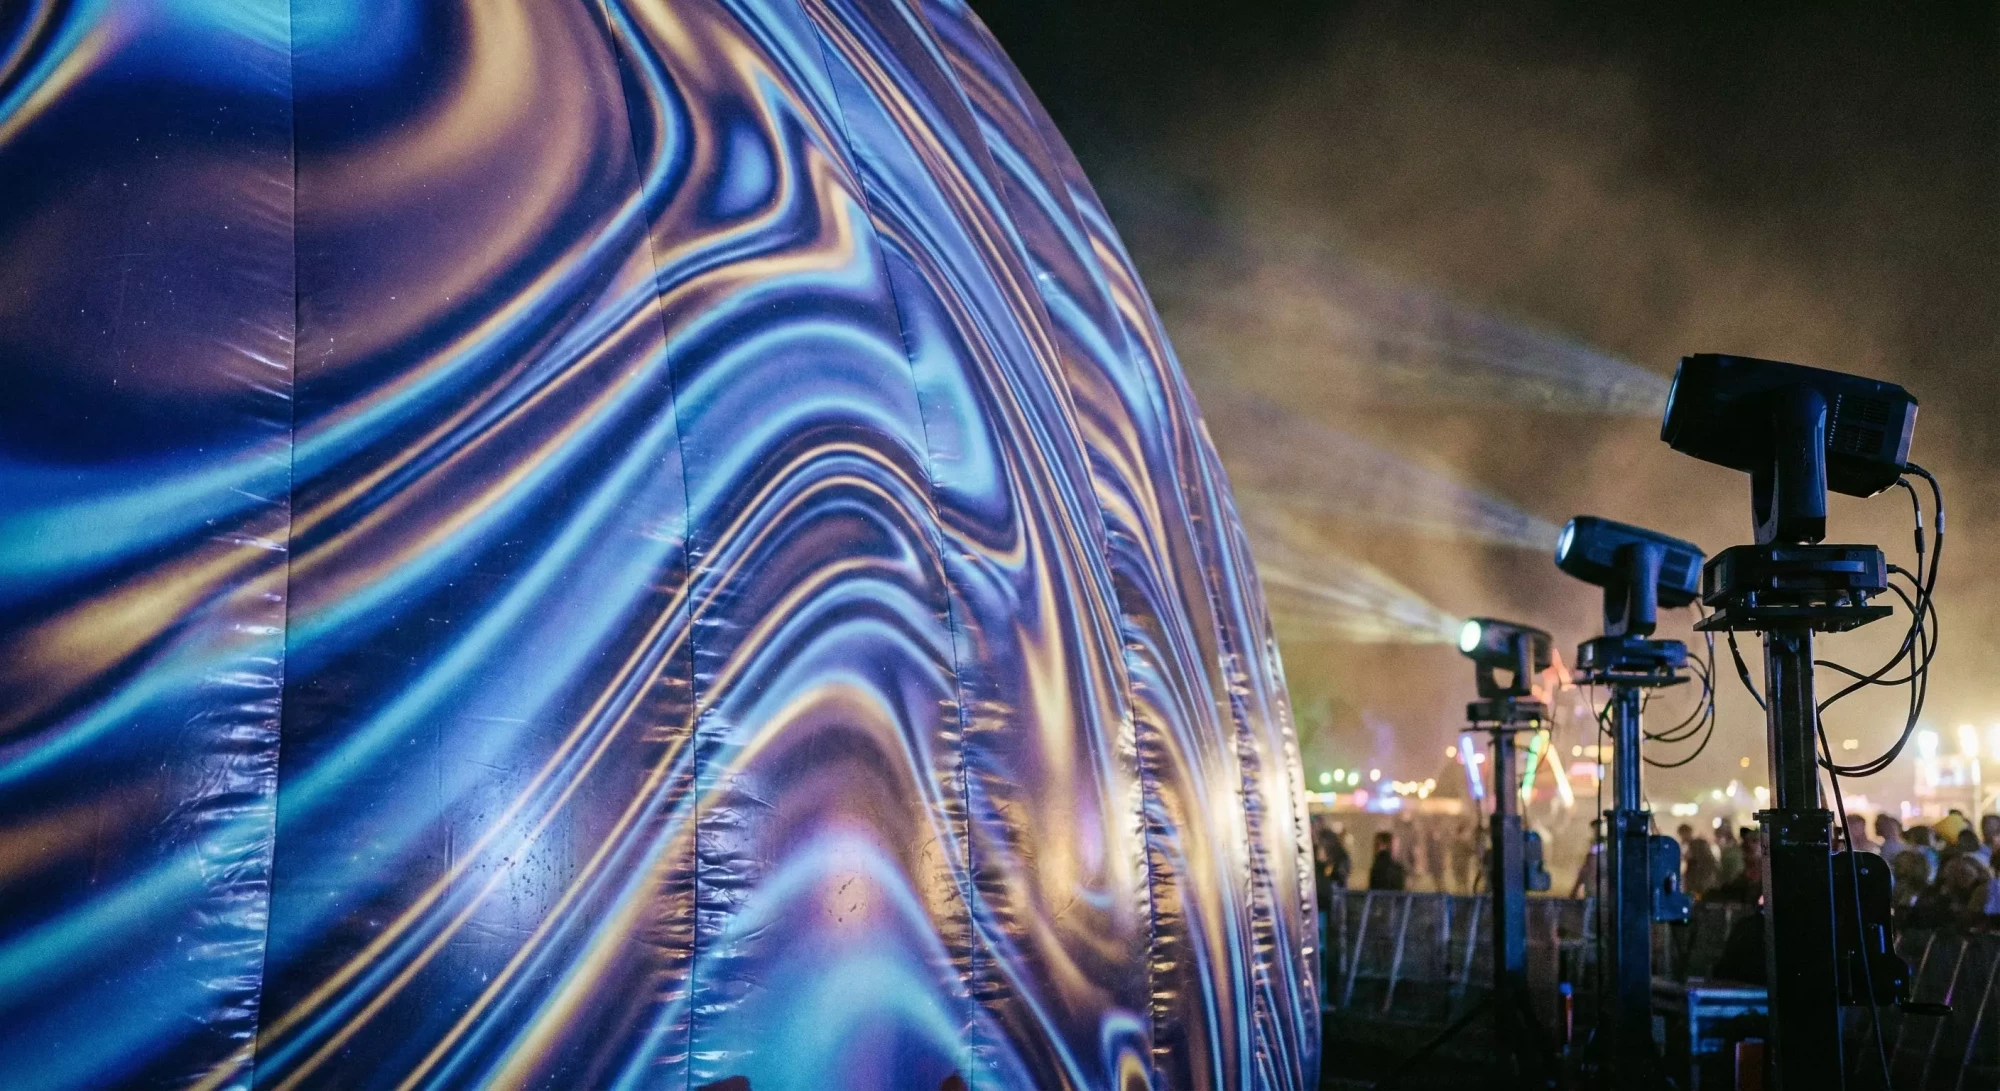
Inflatables and temporary scenic structures offer some of the most exciting surfaces for projection mapping. Their smooth, organic curves make light appear fluid and dimensional—ideal for festivals, tourism activations and public art experiences. This technical deep dive explains how to successfully map inflatable surfaces with professional-level precision.
Why Inflatables Work So Well
- Pure white material reflects light extremely well
- Curved shapes enhance depth and motion illusions
- No rigid seams mean visuals appear smooth and continuous
- Portable and scalable for festivals and temporary installations
Technical Challenges
1. Constant Minor Shape Changes
Inflatables expand, contract and subtly shift throughout the night due to air pressure and temperature.
2. Curved Geometry Distortion
Content must be pre-warped to ensure it appears correct from audience viewpoints.
3. Multiple Projectors Needed
Curved surfaces often require 2–4 projectors depending on the shape.
Best Practices
- Use short-throw lenses to maximize brightness
- Position projectors at equal angles around the structure
- Use mesh warping and perspective grids for accuracy
- Blend edges where coverage overlaps
- Keep air blowers running continuously
For multi-projector setups, see our guide: Multi-Projector Mapping & Blending
Ideal Content for Inflatables
- Flowing abstract animations
- Organic motion graphics
- Color-shifting patterns
- Particle systems
Next Steps
Send photos or sketches of your inflatable to our contact page, and we’ll design a projection layout that fits your structure.
Inflatables are one of the most magical surfaces for projection mapping—if you map them correctly.