

Outdoor Projector Enclosures: Weather Protection, Cooling and Installation Guide
Outdoor Projector Enclosures: Weather Protection, Cooling and Installation Guide
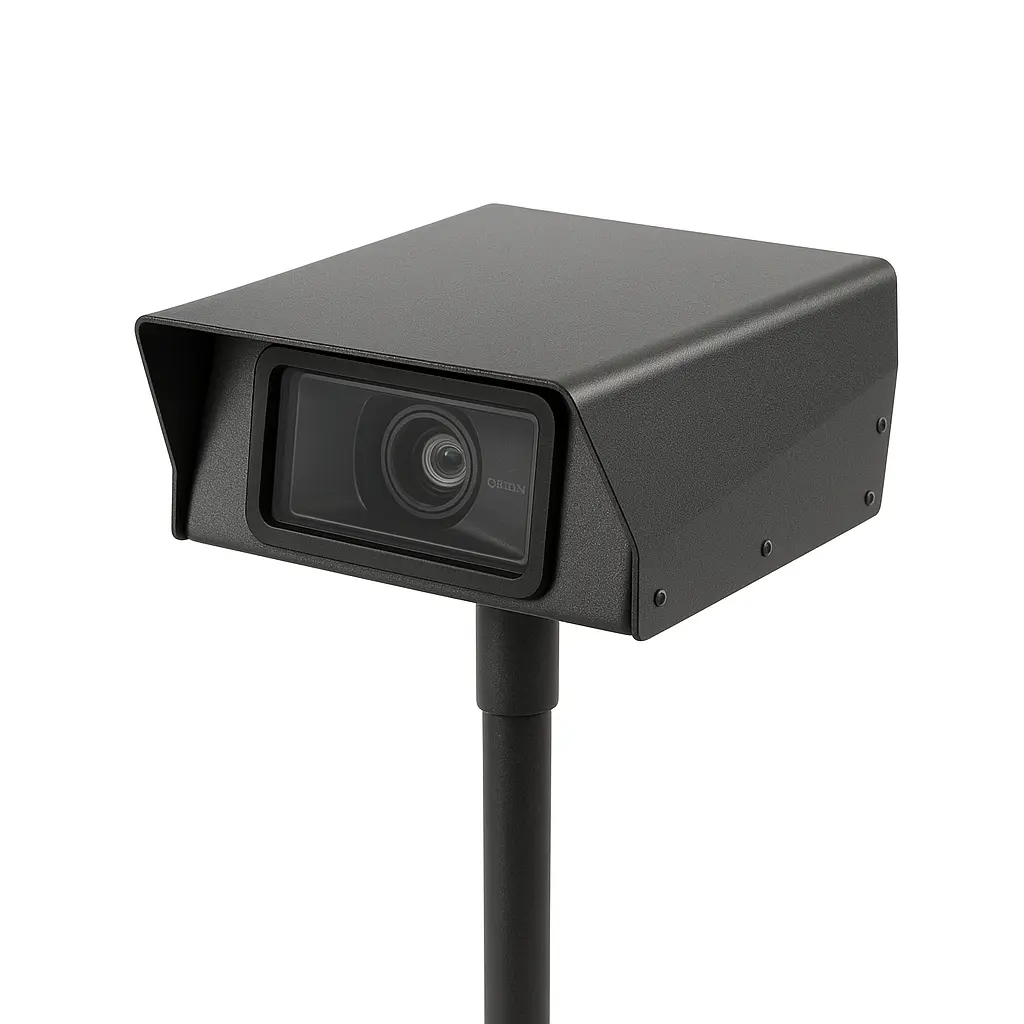
Most professional projectors are designed for controlled indoor environments. Outdoor projection mapping introduces rain, snow, wind-driven moisture, dust, insects, condensation, summer heat and winter cold—all while the projector may be operating for hours at high brightness.
An outdoor projector enclosure turns an indoor-rated projector into part of a weather-managed system. For municipalities, event producers, attractions and property owners, the enclosure is not simply a metal box around the equipment. It must protect the projector while maintaining the airflow, temperature, optical path and service access the projector needs.
This guide explains what to look for in a weatherproof projector housing, how climate control works and what should be considered before installing a projector outdoors.
Why a Standard Projector Cannot Simply Be Placed Outdoors
A temporary canopy may keep direct rain off a projector during a short event, but it does not create a controlled operating environment. Moist air can enter from the sides, temperature changes can produce condensation, and blocked or recirculated airflow can cause overheating.
Permanent and semi-permanent installations face additional challenges:
- Rain and melting snow: Water can reach seams, cable entries and the projection window.
- Heat: A high-output laser projector generates substantial internal heat, even on a cool night.
- Cold starts: Electronics and optical components may be outside their manufacturer-specified operating range before startup.
- Dust and insects: Contaminants can restrict filters, coat optics and interfere with fans.
- Condensation: A sealed enclosure can still develop moisture when its internal temperature crosses the dew point.
- Security and movement: Public installations must resist tampering while holding alignment over time.
The goal is therefore not to make the enclosure completely airtight. The goal is to create a controlled path for air, water, heat and wiring while maintaining reliable projection.
Weather Resistance Is Only One Part of the Design
Terms such as “weatherproof,” “water-resistant,” “NEMA” and “IP-rated” are often treated as interchangeable, but they are not. NEMA enclosure types and IEC IP codes use different test methods and address different conditions. A higher-looking number is not automatically better for every application.
For example, an outdoor system may need protection from falling rain and snow, while a dusty industrial site may require stronger protection against airborne particles. Coastal installations may need added corrosion resistance. A location exposed to irrigation, pressure washing or wind-driven water may require a different approach than a sheltered wall mount.
It is also important to distinguish between the rating of an empty electrical cabinet and the performance of a complete projector enclosure. Optical windows, ventilation openings, filters, fans, doors, cable glands and mounting penetrations all affect the finished assembly. The complete configuration should be evaluated for its actual installation environment.
Cooling a Projector Without Letting Weather In
Cooling is usually the central engineering challenge. A projector converts much of its electrical input into heat, and that heat must leave the enclosure. Simply adding a fan is not enough.
A well-designed system establishes a deliberate airflow path:
- Outside air enters through a protected intake.
- The air passes through filtration appropriate to the environment.
- Cool air reaches the projector’s own intake zones.
- Hot projector exhaust is captured before it can recirculate.
- Heated air exits through a weather-protected discharge path.
Separating intake air from exhaust air matters. If hot discharge air loops back into the projector, enclosure temperature can climb even when the fans appear to be moving plenty of air.
Fan capacity should be based on heat load, expected ambient temperature, pressure losses through filters and ducts, and the projector’s airflow pattern. Projectors from Epson, Panasonic, Barco and other manufacturers do not all breathe in the same direction. The enclosure layout must work with the selected projector rather than forcing every model into one generic airflow arrangement.
For more background on projector output and physical design, see our guide on how high-lumen projectors became smaller and lighter.
Heating, Cold Starts and Condensation Control
In cold climates, the enclosure may need to warm the projector before it starts. The correct strategy is not necessarily to keep the entire box hot all winter. It is to maintain safe internal conditions, prevent damaging condensation and bring the projector into its acceptable operating range before use.
A controlled system may include:
- Temperature sensors at the air intake, projector area and exhaust
- A thermostatically controlled heater
- Preheat logic that delays projector startup
- Fan staging based on internal temperature
- Humidity or condensation monitoring
- Remote alarms for abnormal temperature or fan failure
Condensation deserves special attention. When a cold projector encounters warmer humid air, moisture can form on surfaces even when no rain has entered the enclosure. Gradual temperature control and managed ventilation can be as important as the exterior seals.
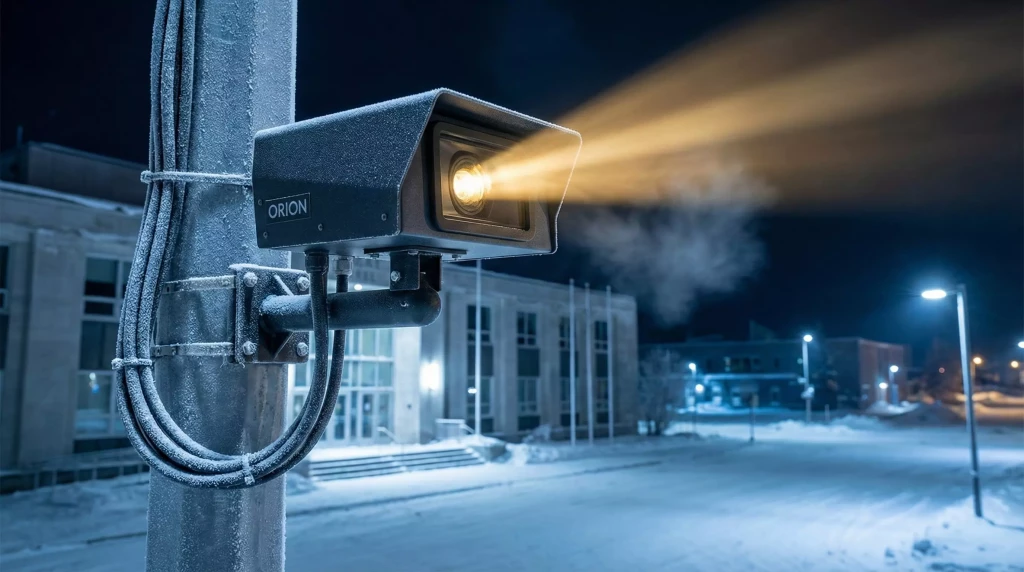
Our winter projection mapping planning guide explores the broader challenges of operating outdoor projection systems in freezing conditions.
The Projection Window Is an Optical Component
The front window must keep weather away from the lens without visibly degrading the image. Ordinary plastic or poorly selected glass can introduce reflections, distortion, colour shifts, reduced brightness or internal ghost images.
Window selection should consider optical clarity, coatings, thickness, angle, thermal movement and the projector’s field of view. The opening must also accommodate lens shift and the required projection angle without clipping the image.
Placing the window slightly off-axis can help control reflections in some configurations, but every system should be evaluated with the actual projector and lens. Short-throw lenses are particularly sensitive because they produce a wide cone of light close to the enclosure.
Projector Size, Lens Position and Service Access
An enclosure should be selected around more than the projector’s external dimensions. Designers also need room for connectors, cable bend radii, filter replacement, lens adjustment, airflow clearance and safe removal.
Before selecting a housing, document:
- Projector model and lens model
- Operating orientation—landscape, portrait or downward projection
- Manufacturer-required clearance around intakes and exhausts
- Lens shift range and projected light path
- Power, network and signal connections
- Maintenance access and lifting requirements
- Future projector replacement possibilities
Leaving thoughtful service space can make the difference between a ten-minute inspection and dismantling an entire outdoor installation.
Mounting and Alignment for Public-Space Installations
The enclosure and mount must work as one structural system. Wind, vibration, snow accumulation, thermal expansion and maintenance loads can all affect alignment. Even small movement becomes visible when an image is mapped precisely onto architectural features.
Common mounting locations include poles, streetlights, walls, rooftops, truss structures and purpose-built pedestals. Each has different structural, access and appearance requirements. Municipal installations often benefit from clamp-on or non-invasive mounting methods that minimize changes to existing infrastructure.
The mount should provide secure adjustment while preventing drift after alignment. It should also allow safe access for technicians without creating pinch points or requiring improvised lifting methods.
Projection geometry should be resolved before the enclosure location is finalized. Our guide to projector angle and distance explains the relationship between mounting position, lens selection and image coverage.
Electrical Safety, Controls and Remote Monitoring
An outdoor enclosure brings together line voltage, low-voltage controls, fans, heaters, sensors and valuable AV equipment. Electrical design should account for the applicable local requirements, overcurrent protection, grounding, cable entry, disconnecting means and environmental exposure.
For a permanent installation, remote monitoring can significantly reduce operating risk. Useful monitored conditions include:
- Internal temperature and humidity
- Fan operation or airflow loss
- Heater status
- Door or access-panel status
- Projector power and communication
- High-temperature, low-temperature and filter-service alarms
This allows an operator to identify a blocked filter or failed fan before the projector shuts down during an event. For seasonal attractions and municipal installations, remote visibility can also reduce unnecessary site visits.
Temporary Events vs. Permanent Installations
A weekend festival and a year-round downtown attraction do not necessarily need the same enclosure strategy.
Temporary event systems prioritize transport, fast setup, rigging flexibility and straightforward access. They still require proper rain protection and thermal management, particularly when projectors operate inside truss structures, tents or scenic elements.
Permanent systems place more emphasis on corrosion resistance, security, appearance, remote monitoring, maintainability and long-term cable management. They may also require engineered mounting and project-specific electrical evaluation.
For municipalities considering a permanent attraction, see our guide to permanent projection mapping installations for cities and venues.
Questions to Ask Before Buying an Outdoor Projector Enclosure
Before requesting a quotation, assemble the following information:
- What projector and lens will be installed?
- What are the minimum and maximum outdoor temperatures?
- Is the location exposed to wind-driven rain, snow, dust, salt or irrigation?
- Will the system operate year-round or seasonally?
- How will the enclosure be mounted and serviced?
- Is remote monitoring required?
- What power and communication connections are available?
- Which electrical or enclosure evaluations apply at the installation location?
- Could a larger projector be installed in the future?
Providing these details early helps avoid an enclosure that technically fits the projector but performs poorly in the field.
A Complete Outdoor Projection System
The best outdoor projector enclosure is designed as part of the complete projection system. Projector selection, lens geometry, heat load, weather exposure, mounting, power, controls and maintenance all affect one another.
360 Illumination designs and manufactures aluminum, climate-controlled projection enclosure systems in Canada for professional outdoor mapping. Systems can be configured around the selected projector, installation environment and mounting requirements.
If you are planning an outdoor projection mapping project, contact 360 Illumination with your projector model, location and expected environmental conditions. We can help identify an enclosure and mounting approach suited to the application.