

Permanent Projection Mapping Site Survey Checklist for Municipal Projects
Permanent Projection Mapping Site Survey Checklist for Municipal Projects
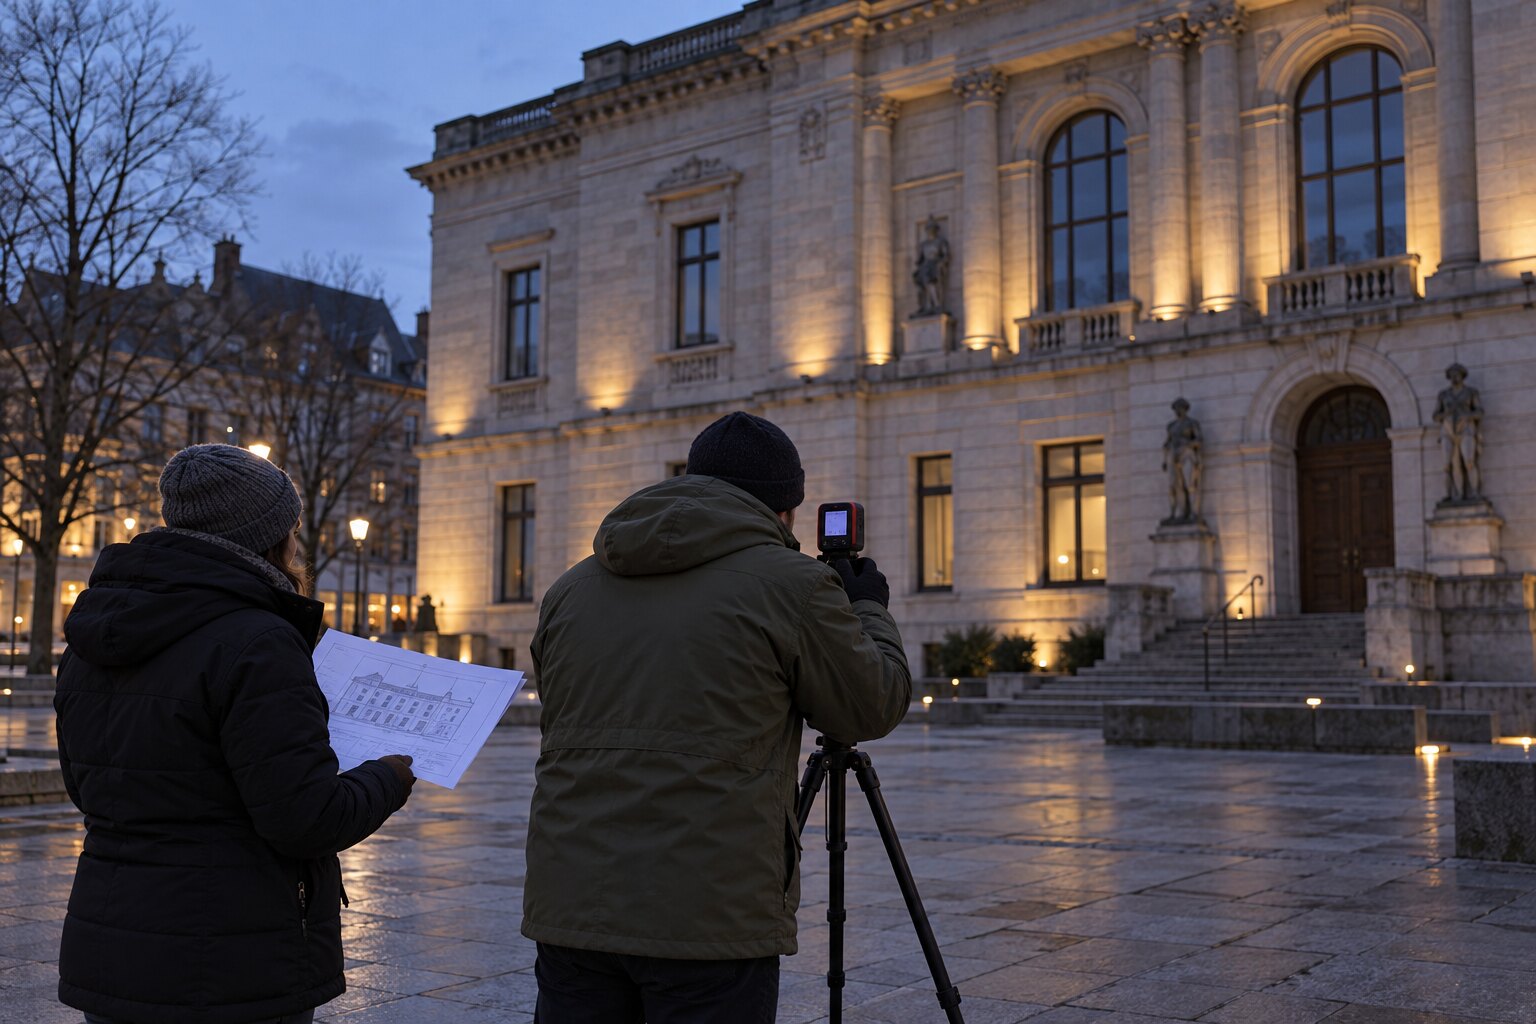
A permanent projection mapping installation begins long before anyone selects a projector. The highest-value early step is a disciplined site survey: a daytime and nighttime review that establishes what can be projected, where equipment can live, how the system will be powered and serviced, and which risks should be addressed before procurement.
For municipalities, tourism organizations, venues and commercial property teams, a good survey creates a common technical record for decision-makers, designers, facilities staff and prospective suppliers. It also reduces the chance of writing an RFP around assumptions that later prove expensive or impossible.
This checklist is designed for early planning. It will not replace detailed optical, structural or electrical engineering, but it will help a project team arrive at those stages with much better information.
1. Define the experience before measuring the site
Start by documenting what the installation needs to accomplish. A system designed for scheduled ten-minute shows has different operational requirements from an ambient display that runs for several hours each evening.
- Primary use: attraction, public art, interpretation, seasonal programming, civic messaging, sponsorship or event support
- Operating pattern: nightly, weekends, selected seasons or special events only
- Typical viewing area: plaza, roadway, sidewalk, park, waterfront, courtyard or ticketed venue
- Content strategy: one long-term piece, rotating campaigns or a library refreshed for holidays and civic events
- Ownership: who schedules playback, approves content, responds to alerts and authorizes maintenance
This definition helps determine whether the project should be a true permanent projection mapping installation, permanent infrastructure used seasonally, or a temporary production delivered for a specific event.
2. Record the projection surface
Photograph the complete facade straight on, from both sides and from every plausible projector position. Include close-ups of materials, joints, windows, signs, vegetation and architectural details. If possible, obtain elevation drawings rather than relying only on photographs.
Measure what the image must cover
Record the overall width and height of the intended canvas, plus the location of doors, windows, columns, rooflines and deep recesses. Irregular geometry can create dramatic content, but it can also produce shadows or require multiple viewpoints and projectors.
Assess colour, texture and reflectivity
Light, matte surfaces generally use projected light more efficiently than dark or glossy finishes. Brick texture may add character; dark stone may require more output; glass can produce reflections while showing little usable image. Note whether seasonal banners, trees, patio furniture or snowbanks will change the canvas during the year.
For more detail, see the guide to projection surface reflectance, gain and colour.
3. Survey after dark—not only during office hours
A daytime walk-through cannot show the actual competition from streetlights, architectural lighting, storefronts, headlights and illuminated signs. Return after dark under conditions that resemble the proposed operating season.
- Photograph the facade with existing lighting both on and off where controls permit.
- Identify fixtures that can be aimed, dimmed, shielded or scheduled differently.
- Observe moving light from traffic and nearby businesses.
- Note sunset, curfew and noise constraints that affect showtimes.
- Check sightlines from the intended audience area, including accessible viewing locations.
Ambient light cannot be corrected simply by adding creative content. It directly influences image contrast and therefore projector selection. Our projection mapping brightness guide explains why surface size and surrounding light must be considered together.
4. Map every realistic projector location
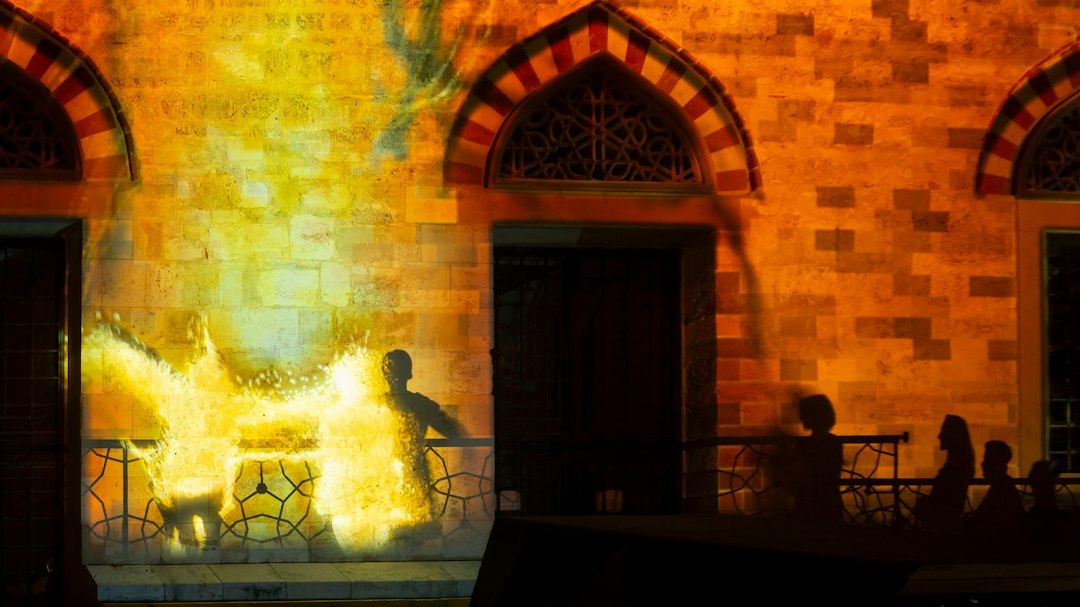
Measure the horizontal distance from each potential mounting point to the facade and estimate the vertical offset to the image area. Record the available footprint and whether the beam crosses a road, sidewalk, tree canopy, balcony, roof edge or event space.
A position that works geometrically may still fail operationally if it blocks a pedestrian route, creates a climbing hazard or becomes inaccessible whenever the venue is busy. Permanent installations benefit from locations that preserve a clear optical path without making routine service difficult.
Questions to answer at each location
- Can the required image width be achieved with available lens options?
- Will people, vehicles, snow, foliage or temporary event infrastructure interrupt the beam?
- Is there space for mounting hardware and an outdoor projector enclosure?
- Can technicians reach the equipment safely for inspection and service?
- Does the structure require a structural review or landlord approval?
- Could vibration, settlement or wind affect alignment?
- Would the equipment be visually acceptable in a heritage or public-realm setting?
Do not choose a projector based on brightness alone. Throw ratio, lens shift, orientation, resolution, physical size, heat rejection and service clearances all influence compatibility.
5. Plan power, data and controls as permanent infrastructure
For every proposed equipment location, identify the nearest electrical service, pathway for new conduit, network availability and a suitable control-equipment location. Record panel identifiers and approximate cable routes, but have qualified professionals confirm capacity and code requirements.
Useful survey notes include:
- available supply locations and distances
- where disconnecting means and controls could be placed
- possible wired-network or fibre routes
- cellular coverage where remote connectivity may be considered
- control-room space, environmental conditions and access
- how clocks, playback systems and lighting controls should coordinate
- whether audio is part of the experience and where sound may travel
Think beyond opening night. The system should be restartable after an outage, schedulable by authorized staff and supportable without a technician standing beside every projector.
6. Evaluate outdoor exposure and enclosure needs
An outdoor projector needs more than a rain cover. The survey should record wind-driven rain, drifting snow, direct sun, prevailing wind, dust, insects, salt exposure, runoff and likely temperature extremes. Also check whether nearby exhaust vents, irrigation, roof drainage or snow-clearing operations could affect the equipment.
Enclosure selection must account for the specific projector’s dimensions, airflow pattern, heat load, lens position, service access and mounting orientation. Climate control should manage operating and non-operating conditions without obstructing the optical path. Learn more in our outdoor projector enclosure planning guide or explore Canadian-manufactured projection enclosures.
7. Check public safety, security and permissions
Permanent public-space equipment needs a security and access strategy. Record who can physically reach the projector location, whether ladders or lifts can be positioned safely, and whether the installation could create a climbing point or conflict with pedestrian circulation.
- Identify property ownership for the facade, mounting position and cable route.
- List municipal departments, utilities, venue teams and private owners that may need to approve work.
- Flag heritage considerations and restrictions on penetrations or visible equipment.
- Document emergency routes, accessible paths and areas required for winter maintenance.
- Consider tamper-resistant mounting, controlled access and camera coverage where appropriate.
- Note road-closure, lift, traffic-control or work-at-height requirements for installation and service.
The survey should identify required reviews, not attempt to replace them. Structural attachments, electrical work, rigging and public-safety plans should be completed by the appropriate qualified parties.
8. Design for maintenance before finalizing the location
A technically excellent position can become costly if every filter check requires a road closure and a large lift. Ask facilities and event staff how the site is maintained throughout the year.
Record the likely access method, equipment required, allowable service hours, key-control process and secure staging area. Define who will inspect optical windows, remove obstructions, respond to faults and confirm image alignment. Consider how replacement equipment could be moved to the location if a major component fails.
Remote status information can reduce unnecessary visits, but it does not eliminate physical inspection. A practical maintenance plan combines monitoring with scheduled checks appropriate to the site and operating season.
9. Capture the information suppliers need
A useful site-survey package should contain enough detail for experienced suppliers to identify uncertainties and develop comparable proposals. Include:
- a short project brief and desired operating calendar
- dimensioned facade elevations or verified field dimensions
- day and night photographs from labelled positions
- a site plan showing audience, projector and control locations
- measured throw distances and elevation changes
- known power, data and conduit information
- environmental exposure and seasonal access notes
- property, heritage, structural and electrical constraints
- content requirements and anticipated update frequency
- expected responsibilities for operation, maintenance and support
- open questions that require further engineering or testing
Where measurements are preliminary, label them that way. A clearly identified unknown is more useful than false precision.
10. Turn the survey into an RFP-ready scope
The next step is not necessarily to prescribe exact hardware. A strong procurement scope can state required outcomes, operating conditions, interfaces, documentation, training and support expectations while allowing qualified teams to propose a coordinated system.
Ask proponents to explain optical coverage, mounting, enclosure compatibility, climate strategy, controls, maintenance access and assumptions. Require a clear division of responsibilities among the municipality, property owner, electrical contractor, structural professionals, content team and system provider.
A compact field checklist
Before leaving the site, confirm that you have:
- daytime and nighttime photo sets
- facade dimensions and material notes
- at least one measured projector position
- audience sightlines and beam-obstruction notes
- ambient-light observations
- power, data and control-route notes
- weather and seasonal exposure notes
- installation and maintenance access information
- ownership, approval and permit contacts
- a list of assumptions requiring professional confirmation
Discuss a permanent projection site assessment
If your municipality, venue or property team is evaluating a permanent display, 360 Illumination can help translate the location, programming goals and operating requirements into a practical system concept. Contact us to discuss a permanent projection mapping site assessment and the information needed for the next planning or procurement stage.