

Projector and Outdoor Enclosure Compatibility: A Buyer’s Checklist
Projector and Outdoor Enclosure Compatibility: A Buyer’s Checklist
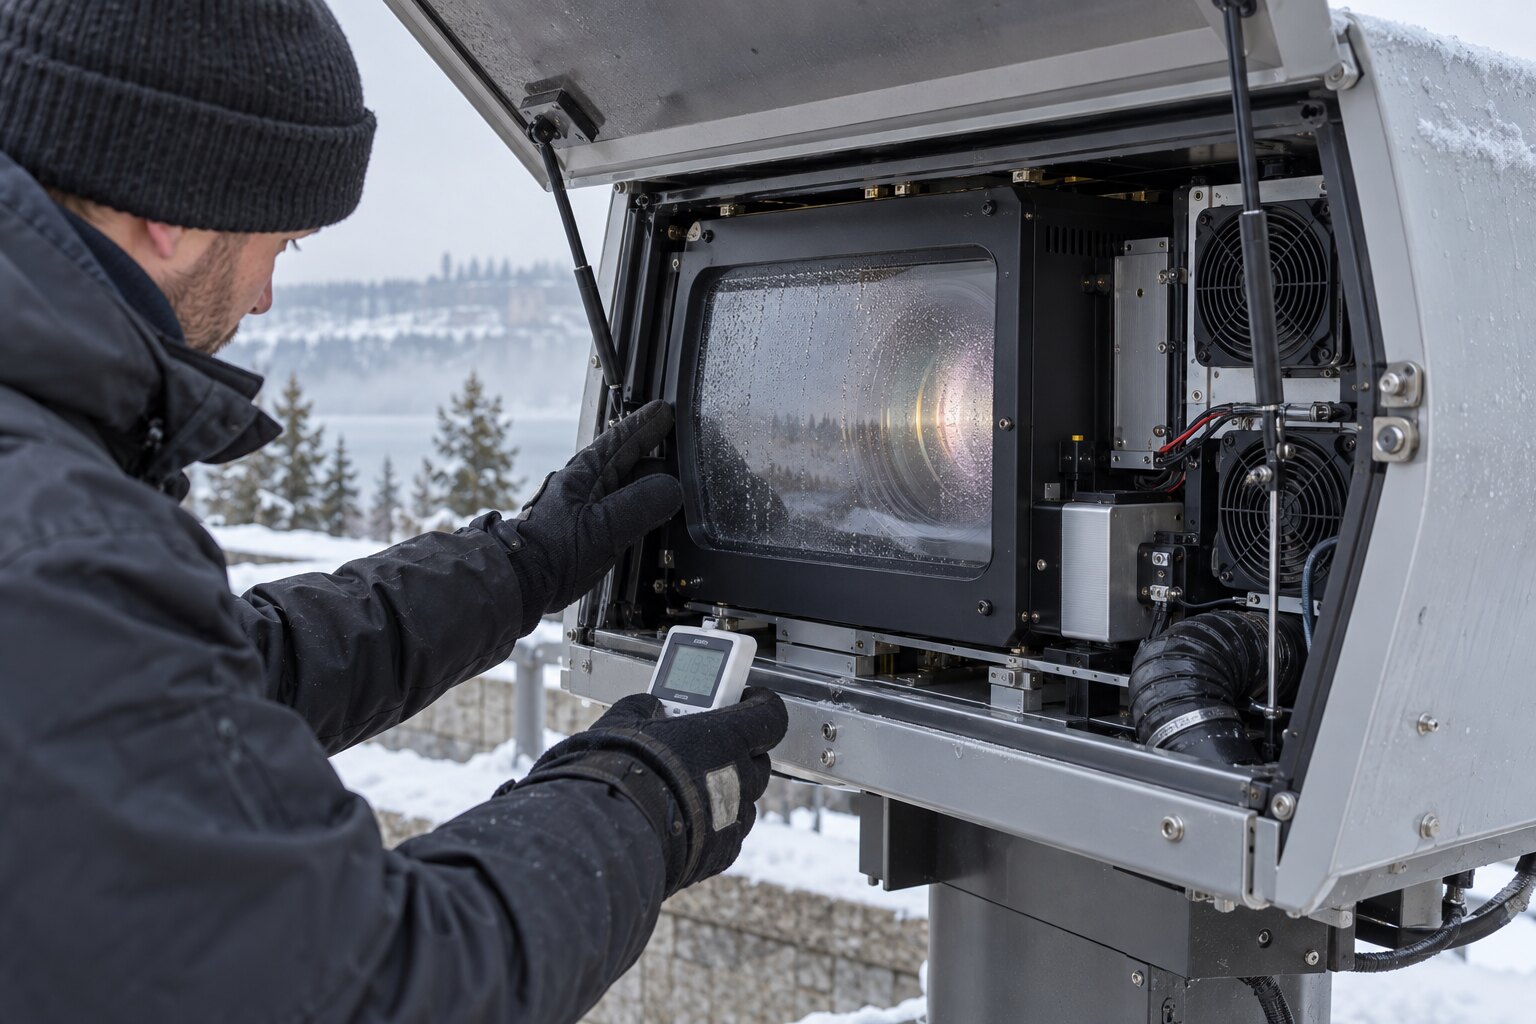
Choosing an outdoor projector enclosure is not only a matter of finding a box large enough for the projector. The enclosure, projector, lens, optical window, cooling approach, power system and mounting method have to work as one installation. A mismatch can create soft focus, thermal alarms, difficult maintenance or an image that never aligns with the intended surface.
This checklist is written for municipal buyers, integrators, venue teams and event-production professionals who need a reliable answer before placing an order.
1. Confirm the projector and lens envelope
Start with the complete operating envelope, not the projector chassis alone. Record the projector model, lens model, lens shift range, cable clearance, intake and exhaust locations, and any required service clearance. A projector that fits on paper may still be unusable if the lens sits too close to the optical window or if a connector cannot be reached after installation.
- Measure the projector with the selected lens installed.
- Allow room for power, signal and control connectors.
- Check the intended orientation and any manufacturer limits on tilt or rotation.
- Confirm that the mount can hold the equipment without blocking airflow or service access.
2. Match cooling capacity to the real heat load
Outdoor enclosures must manage the projector’s heat while also responding to changing outdoor conditions. Ask how the enclosure moves air, where warm air exits, how filters are serviced and what happens when the ambient temperature rises. A cooling approach should be evaluated against the projector’s actual heat output, not only its lumen rating.
For a permanent installation, include operating temperature limits and shutdown behaviour in the design review. The controls should support an orderly startup and shutdown sequence so the projector is not repeatedly exposed to avoidable thermal stress.
3. Protect the optical path
The optical window is part of the projection system. Its material, size, placement and cleanliness affect brightness, contrast, focus and alignment. Confirm that the window is large enough for the lens at the selected throw and shift, with margin for adjustment. Check whether the design allows safe cleaning and replacement without disturbing the projector position.
Also review reflections and glare. A window that is technically clear can still create unwanted reflections if the geometry, coatings or projector angle are wrong.
4. Specify power, data and controls together
Procurement documents often describe the enclosure and projector separately, but the installed system needs one coordinated controls plan. Identify voltage, circuit capacity, disconnect requirements, network or fibre runs, control protocols and the location of any remote monitoring equipment. Define what the operator should see when the enclosure temperature, door status or projector state changes.
For seasonal displays, document who starts the system, who responds to an alert and who has authority to take it offline during severe weather. For permanent municipal systems, assign those responsibilities before commissioning.
5. Plan access, security and service
Routine service should be possible without dismantling the projection position. Review access panels, lifting points, fasteners, lock location, cable routing and the space needed to replace filters or reach the lens. On public sites, consider vandal resistance, tamper detection and the physical relationship between the enclosure and nearby pedestrian areas.
A secure enclosure is not useful if technicians cannot inspect it efficiently. Include a maintenance schedule covering window cleaning, filter inspection, seals, fans, heaters, mounting hardware and image alignment.
6. Check the installation environment
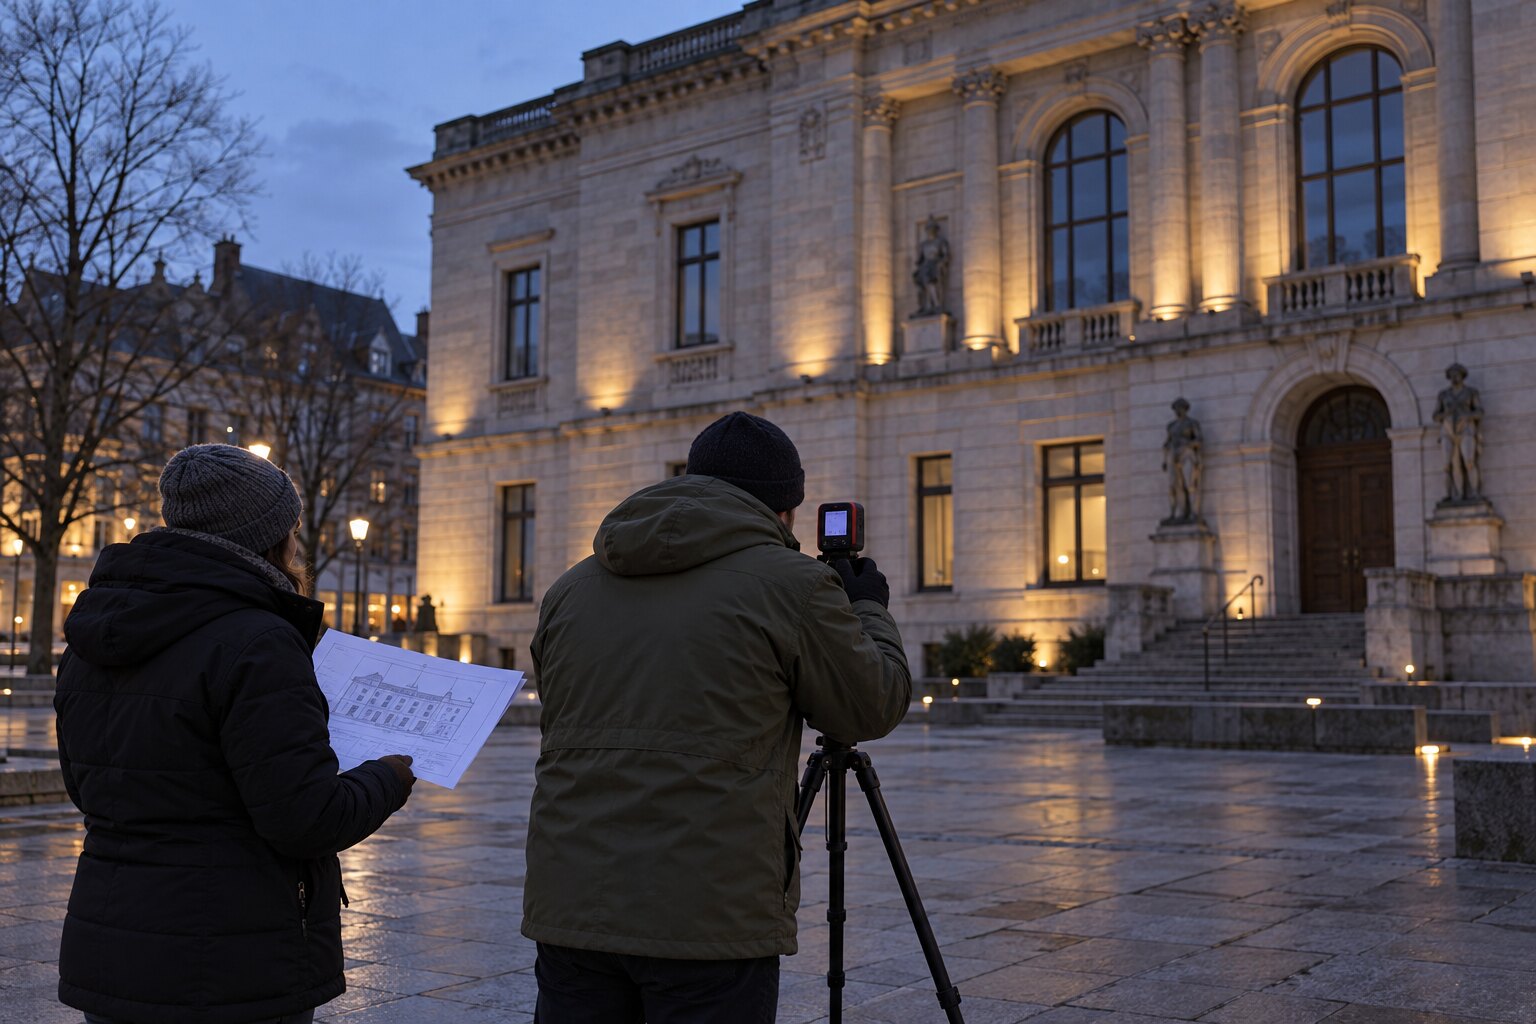
Compatibility includes the site. Confirm the support structure, wind exposure, drainage, snow accumulation, salt or coastal air, maintenance access and sightline to the projection surface. A site survey should also identify where water could collect, where service vehicles can park and whether the enclosure will be exposed to accidental impact.
These details belong in the design and procurement record. They make it easier to compare proposals and reduce change orders after delivery. Our permanent projection mapping site survey checklist is a useful companion for that stage.
7. Put the compatibility questions in the bid package
Before asking for pricing, request a written compatibility statement that names the projector, lens, mounting method, optical window, cooling approach, power requirements and service clearances. Ask the supplier to identify exclusions and site assumptions. If a requirement such as an outdoor enclosure rating or electrical certification applies to the project, specify that the rating or certification must be verified for the actual supplied configuration.
This approach gives a municipality, venue or integrator a clearer basis for evaluating alternatives. It also keeps the conversation focused on the complete operating system rather than a nominal enclosure size.
Use the checklist before you buy
The right enclosure should protect the projector without compromising the image or making routine service impractical. If you are comparing options for a permanent landmark installation, a seasonal attraction or an event system, review 360 Illumination’s outdoor projector enclosures and request a project assessment with the projector model, lens, location and operating schedule. That information is enough to begin a useful compatibility review.